Images
If you would like more information about images for your website, please visit our Image Guide for help. If you need help trying to fix image issues, visit our image troubleshooting page
To add an image to a section of your website, navigate to a section with an image upload option and then click the 'add image' button.
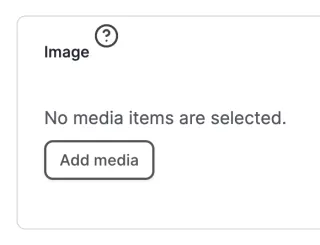
When you do so, you will get a popup window giving you the option to choose any image in your website. After choosing your image, scroll down to the bottom of the media browser and click 'insert selected'.
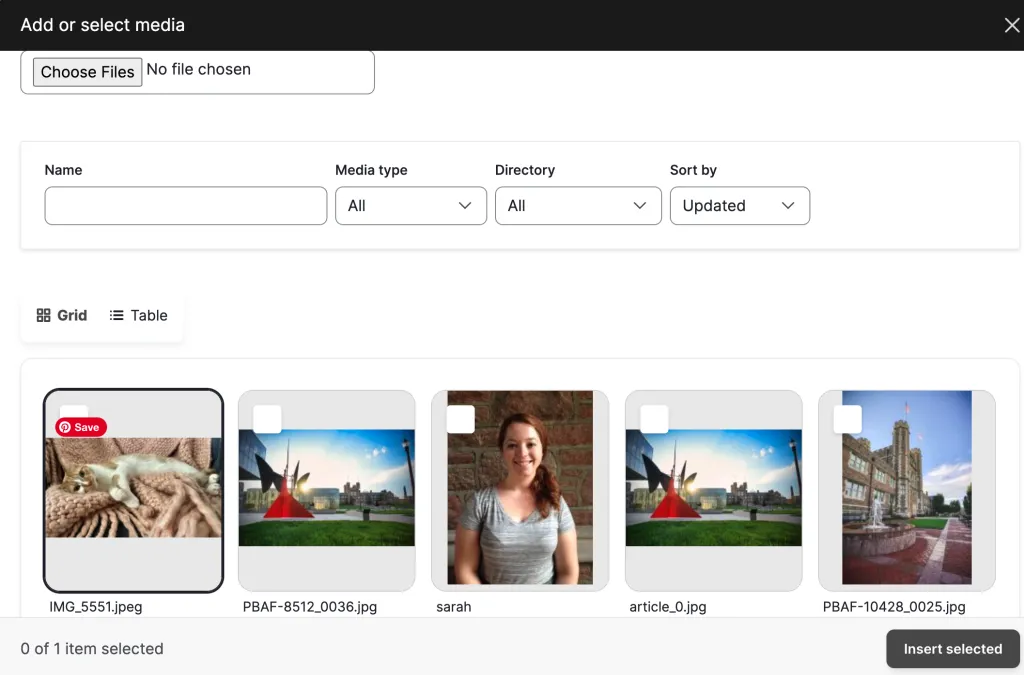
If you would like to upload a new image, click the Choose Files button and follow the directions to upload an image from your desktop. You can only use the allowed file types: PNG, GIF, JPG, or JPEG. The image must also be under the 8 MB limit.
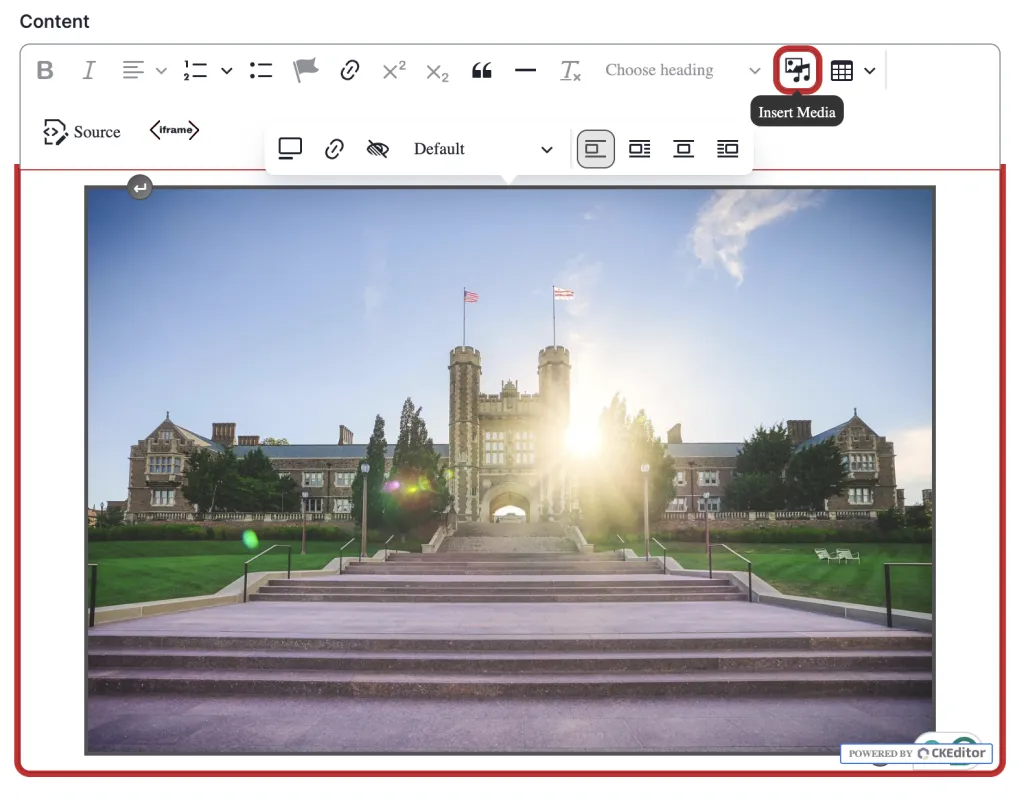
Click on the Media icon and then choose the 'Image' tab.

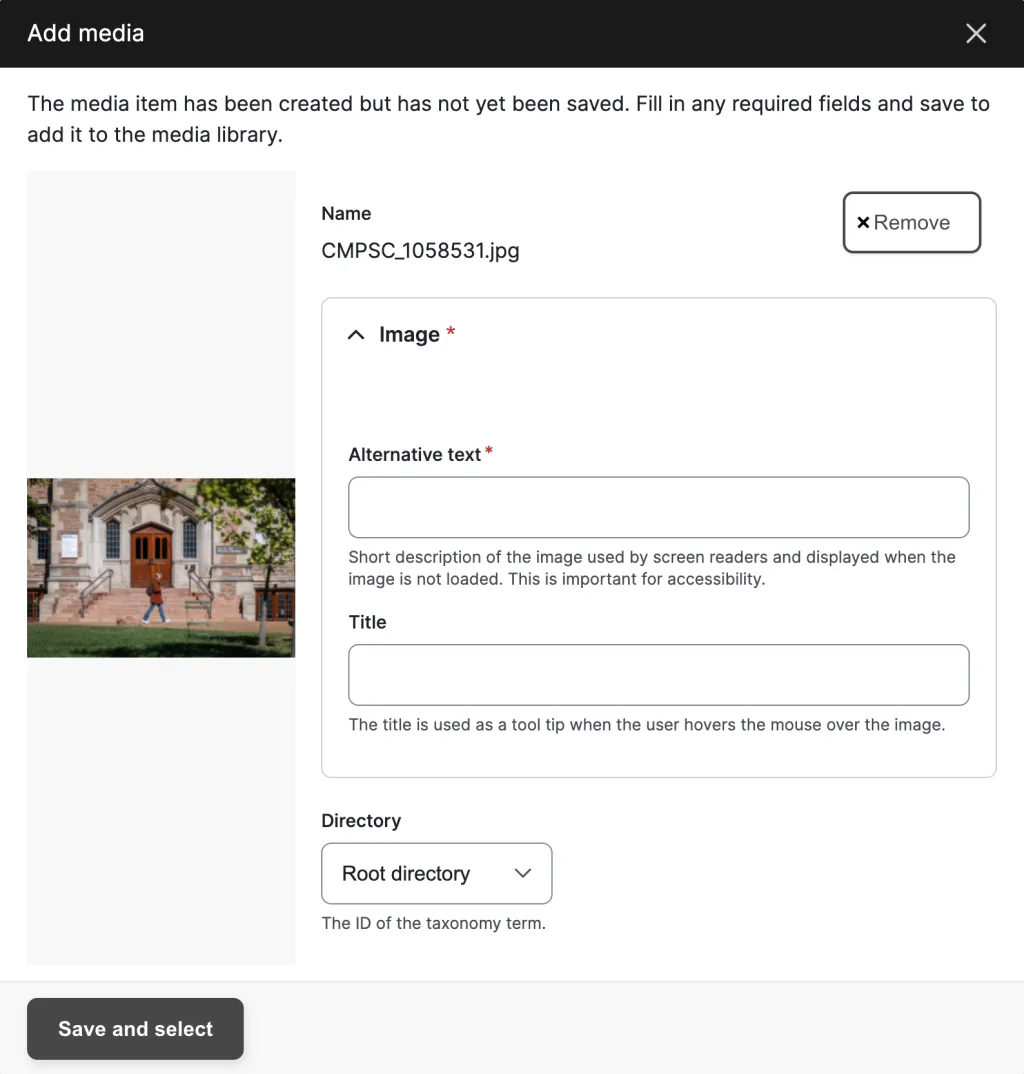
Use the 'choose file' button to choose an image from your computer to upload it to the site. You can only use one of the allowed file types: PNG, GIF, JPG, or JPEG. The image must also be under the 8 MB limit.
Add alternative text and then click the 'save and insert' button.
If you would like to use an existing image in your site, scroll down and choose an image. Click the 'insert selected' button.
Once the image is in your WYSIWYG content area, click on the image to open up an image options toolbar.

Here, you will have options to do the following:
- add a caption
- link the image
- override the default alternative text
- choose a size for you image
- add a text break, left/center/right align the image, or wrap text around the image.
Available Image Sizes:
- x-small square: 190 x 190
- small square: 290 x 290
- medium square: 428 x 428
- large square: 930 x 930
- small portrait: 290 x 435
- medium portrait: 428 x 642
- large portrait: 930 x 1395
- small landscape: 290 x 163
- medium landscape: 428 x 240
- large landscape: 930 x 523
The Image Focus Tool is available for images that are added to website sections. It is a feature that allows you to 'shift' the photo so that a certain area is centered. This tool If you are using a photo that is only the minimum size, the focus tool won't have any room to make that shift. Using a larger than minimum photo will allow that focus tool a larger area to make that adjustment.
When you edit a section with an image, you will see a pencil icon and an 'X.
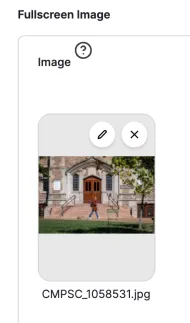
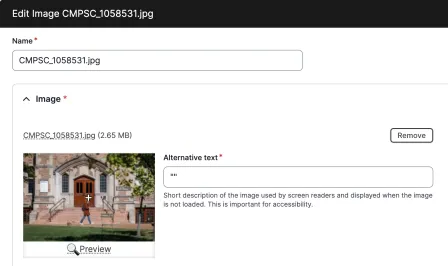
If you click the pencil icon, you will get a popup window with a small preview version of the image, an alternative text field, and a title field. You can click and drag the + in the image in order to set its focal point.
Need more help with images? Visit our Image Guide to learn about image sizes, editing, and how to choose images for your website.
Video
If you are adding a video to a website section or by using the media button in a WYSIWYG toolbar, you can only use videos hosted on YouTube. If you would like to add a video hosted on Vimeo or another service, your only option will be to use the 'source' option in the WYSIWYG toolbar.
Please note that all videos added to website sections must be hosted on YouTube.
To add a video to a section of your website, navigate to a section with a video upload option and then click the 'add media' button. When you do so, you will get a popup window giving you the option to choose any existing video URL in your website.
If you would like to add a new video URL, enter a URL in the 'Add Remote video via URL' field.
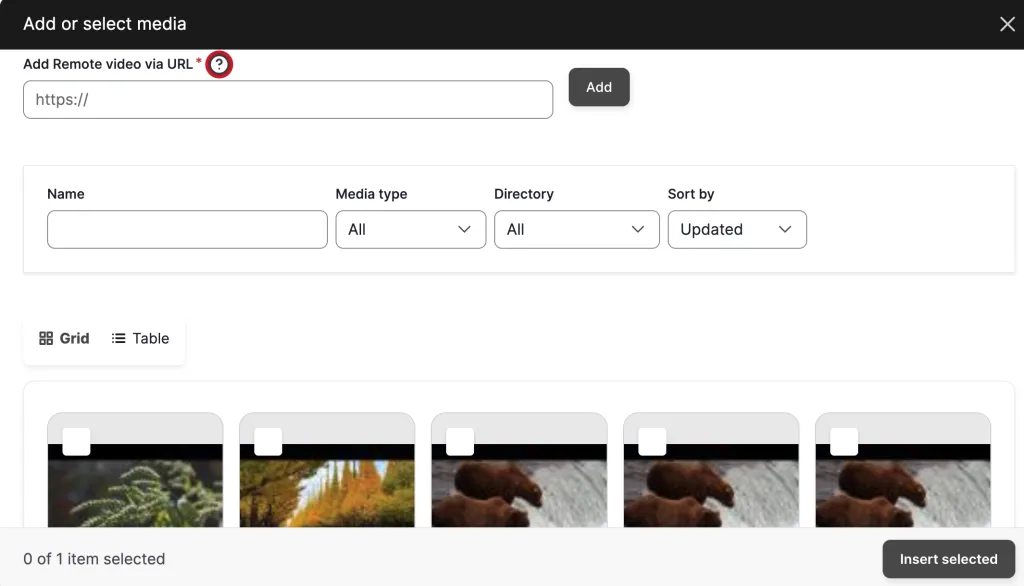
Please note that all videos added to a WYSIWYG by using the media option must be hosted on YouTube.
Click on the Media icon and then choose the 'Video' tab.

To add a new video, enter the browser URL for a YouTube video and click the 'add' button. Click the 'insert selected' button.
If you would like to use an existing video in your site, scroll down and choose a video. Click the 'insert selected' button.
Please note that if you are using Vimeo or a video hosting service other than YouTube, this is the only option for adding video. Although the example below uses YouTube, other hosting services should also provide you with an embed code.
The URL you will need to use is the one YouTube provides when you select the "Embed" option. First, select "Share" below the video, then select "Embed."
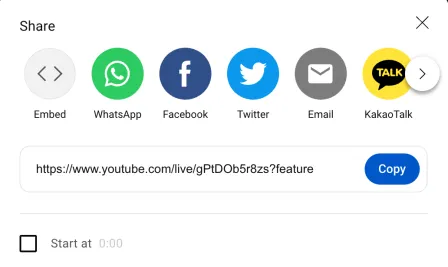
On the next screen, copy the web address from the embed code.
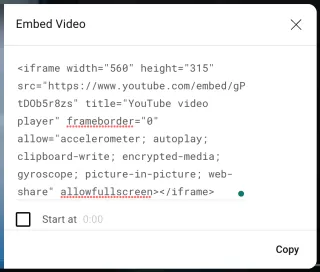
Once you have the embed code, go back to your website. Turn off the 'rich-text' editor in your WYSIWYG by clicking on the 'source' icon in your WYSIWYG toolbar.

Paste in the URL you copied from YouTube into the desired location. Click on the 'source' button again to turn the 'rich-text' editor back on and then save your page.
Podcasts
If you are adding a podcast to the Soundcloud Field in an article, you can only use podcasts hosted on Soundcloud. If you would like to add a podcast hosted elsewhere, your only option will be to use the 'source' option in a WYSIWYG toolbar.
This field allows an audio file to be embedded at the top of the article. The file must first be uploaded to SoundCloud (a site similar to YouTube for audio).
To add a podcast to the Soundcloud section of an article, click the 'add podcast' button. When you do so, you will get a popup window giving you the option to choose any existing Soundcloud URL in your website.
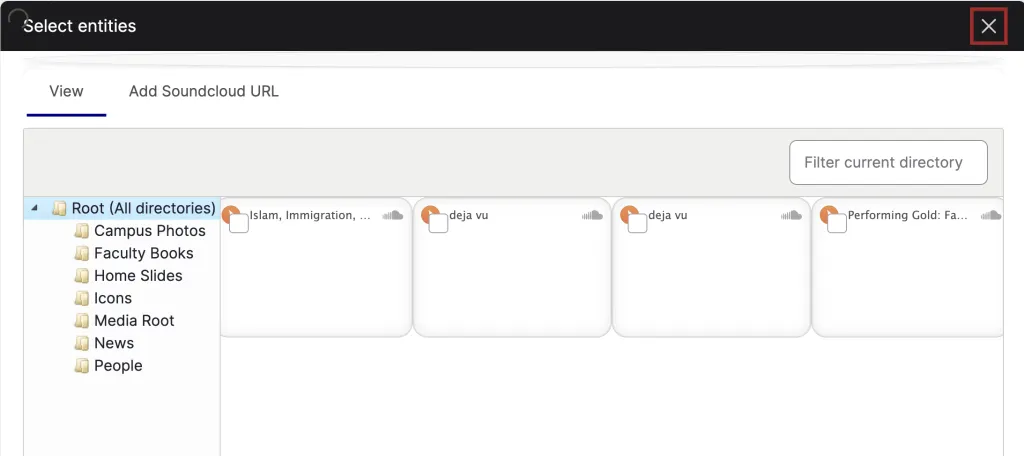
If you would like to add a new podcast URL, click the Add Soundcloud URL tab and follow the directions to enter a Soundcloud browser URL.
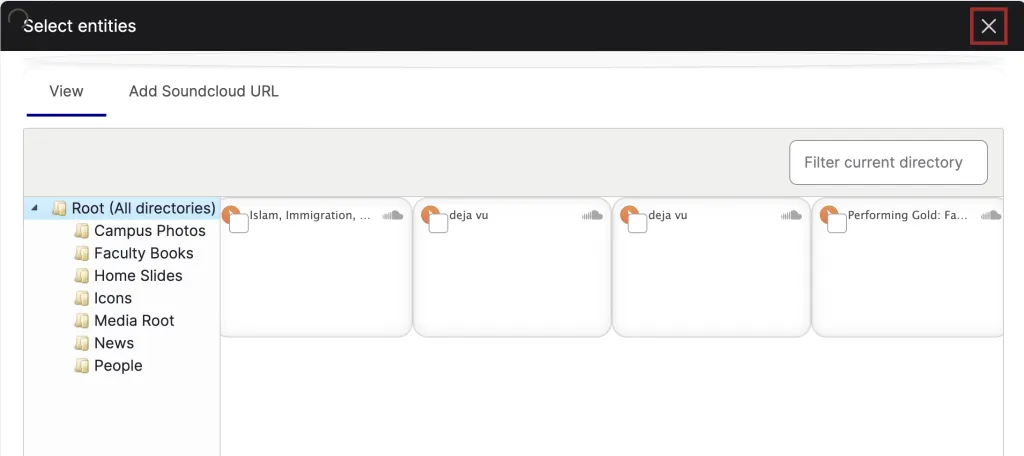
Once you have the podcast embed code, go back to your website. Turn off the 'rich-text' editor in your WYSIWYG by clicking on the 'source' icon in your WYSIWYG toolbar. Paste the embed code into the desired location. Click on the 'source' button again to turn the 'rich-text' editor back on and then save your page.
iFrames
Clicking on the iframe button opens a window within a WYSIWYG and allows you to paste in code to embed an iframe. Once you have pasted the code, click the green checkmark and save the page.

Once you have the iFrame embed code, go back to your website. Turn off the 'rich-text' editor in your WYSIWYG by clicking on the 'source' icon in your WYSIWYG toolbar. Next, paste in the iFrame code in the desired location. Click on the 'source' button again to turn the 'rich-text' editor back on and then save your page.